GlowWithoutBreakouts.com • Acne Treatment • Updated 2026
If you have ever stood in the skincare aisle staring at two different acne products and had absolutely no idea which one to pick, you are not alone. Salicylic acid vs benzoyl peroxide is one of the most common questions I get from readers, and honestly, it confused me for years too. I used both on my own acne-prone skin without really understanding what each one was doing, which meant I was either using the wrong one for my skin type or accidentally using both at the same time and wondering why my skin was so irritated.
This guide breaks down everything you need to know about salicylic acid vs benzoyl peroxide: how they work differently, which one is right for your skin type and acne type, and how to use them together without destroying your barrier. By the end you will know exactly which one belongs in your routine and how to use it correctly.
GWB Skin Quiz
Not sure what skin type you have?
Take the free quiz before choosing between salicylic acid vs benzoyl peroxide.
What Is Salicylic Acid and How Does It Fight Acne?
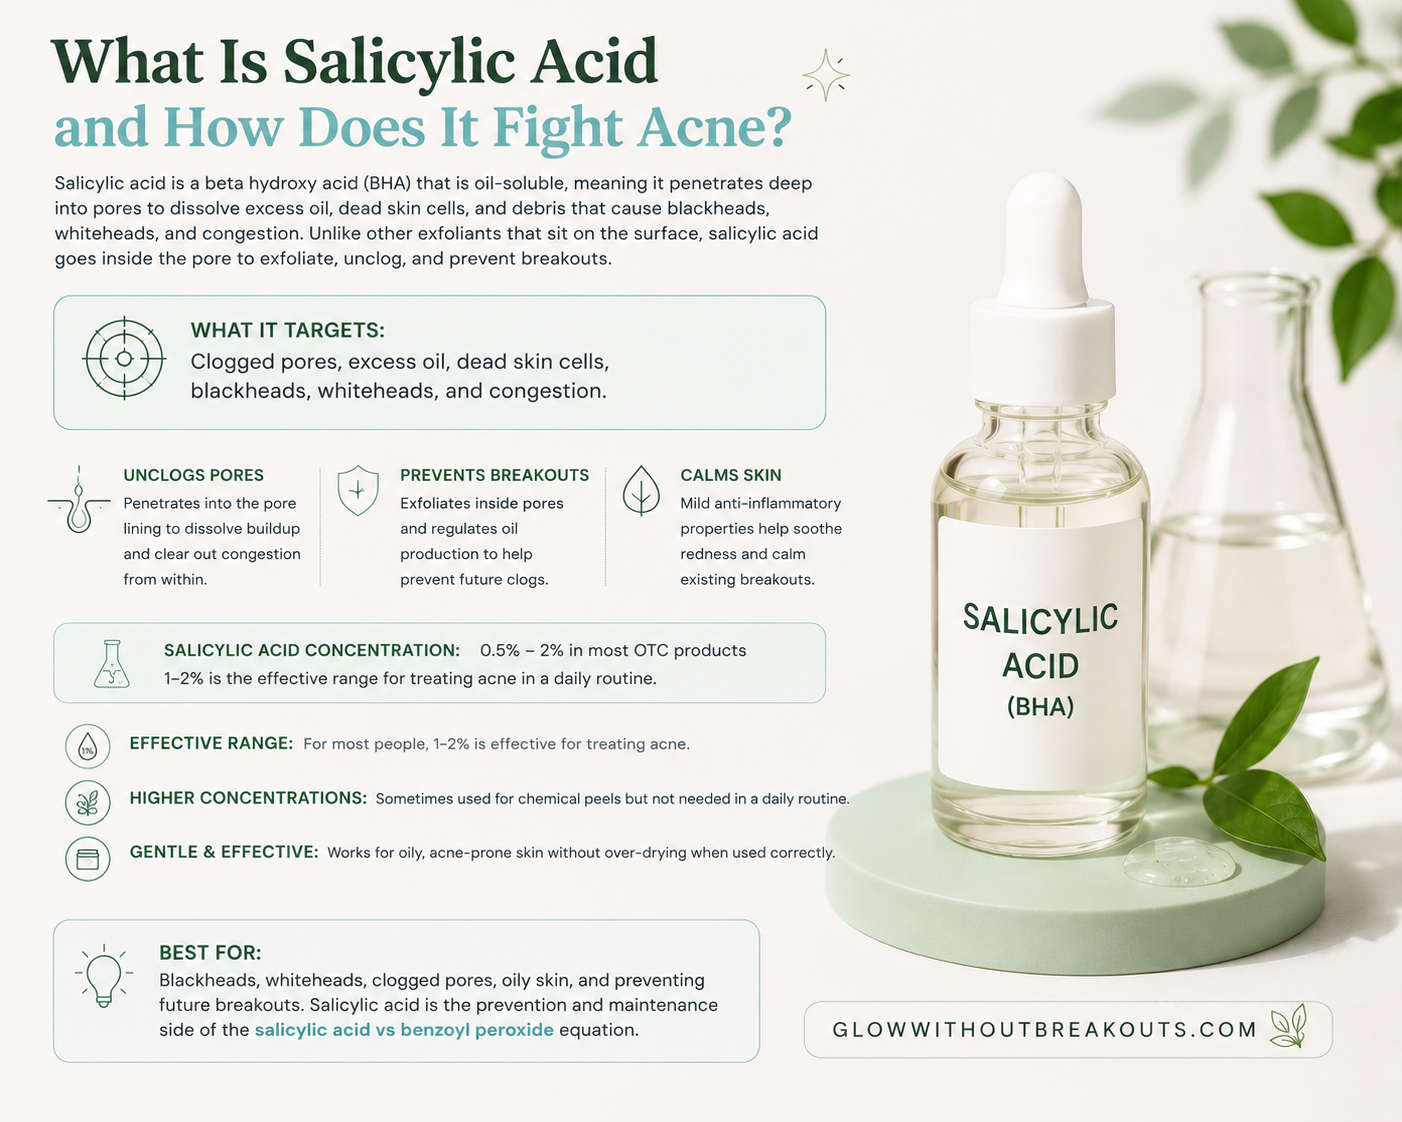
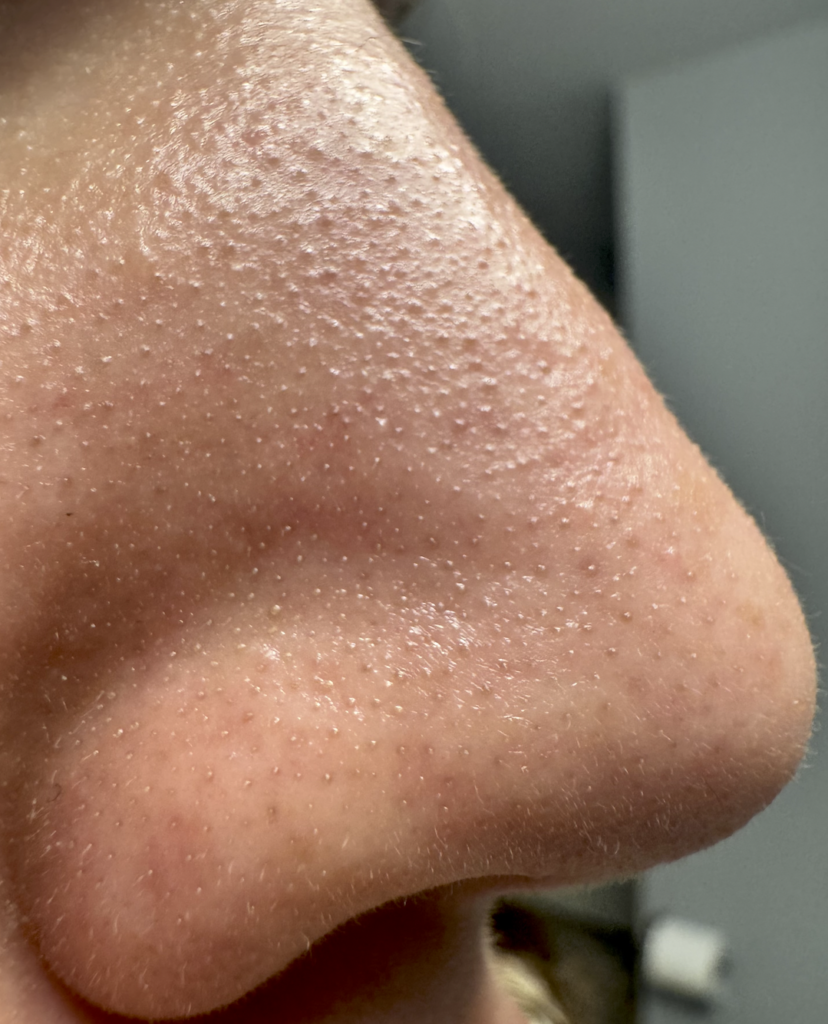
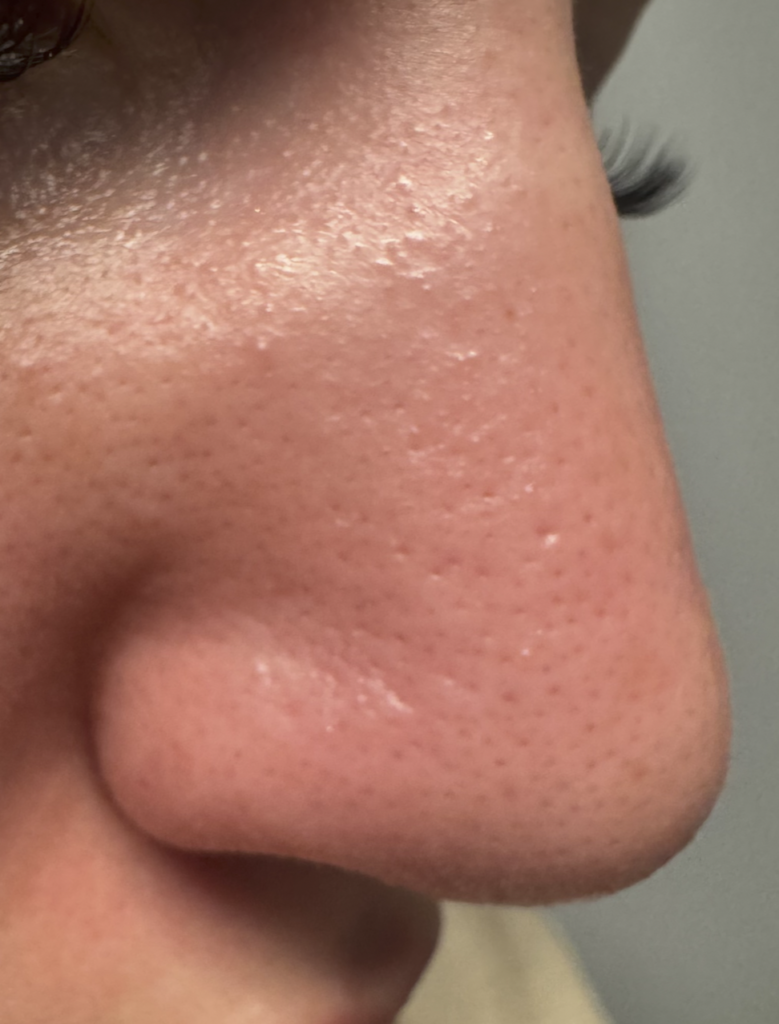
Salicylic acid is a beta hydroxy acid, or BHA, which means it is oil-soluble. That is the key detail that makes salicylic acid so effective for acne-prone skin specifically. Because it dissolves in oil, it can actually penetrate into your pores and clear out the sebum, dead skin cells, and debris that cause blackheads, whiteheads, and congestion. Most other exfoliants sit on the surface of the skin. Salicylic acid goes inside the pore.
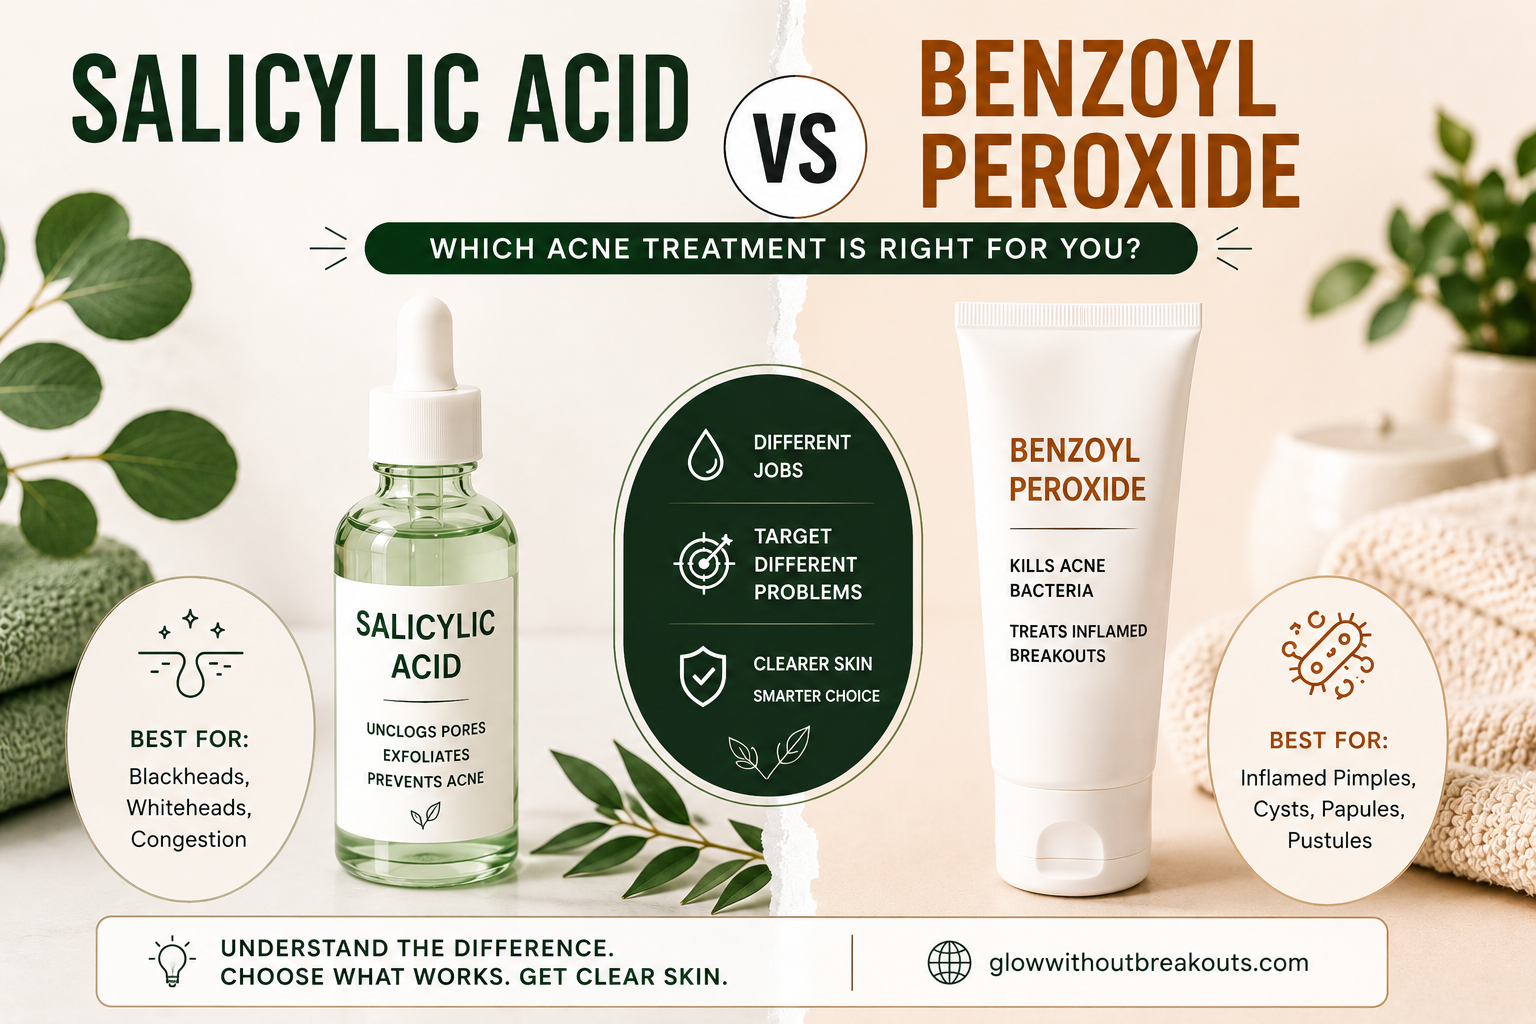
When you are comparing salicylic acid vs benzoyl peroxide, the first major difference is what each one targets. Salicylic acid targets clogged pores. It exfoliates within the pore lining, breaks down buildup that causes congestion, and prevents new clogs from forming. It also has mild anti-inflammatory properties, which can help calm existing breakouts, but its main job is prevention and clearing congestion rather than killing bacteria.
Salicylic acid is available in concentrations ranging from 0.5% to 2% in over-the-counter products. For most people, 1-2% is the effective range for treating acne. Higher concentrations are sometimes used for chemical peels but are not needed in a daily routine.
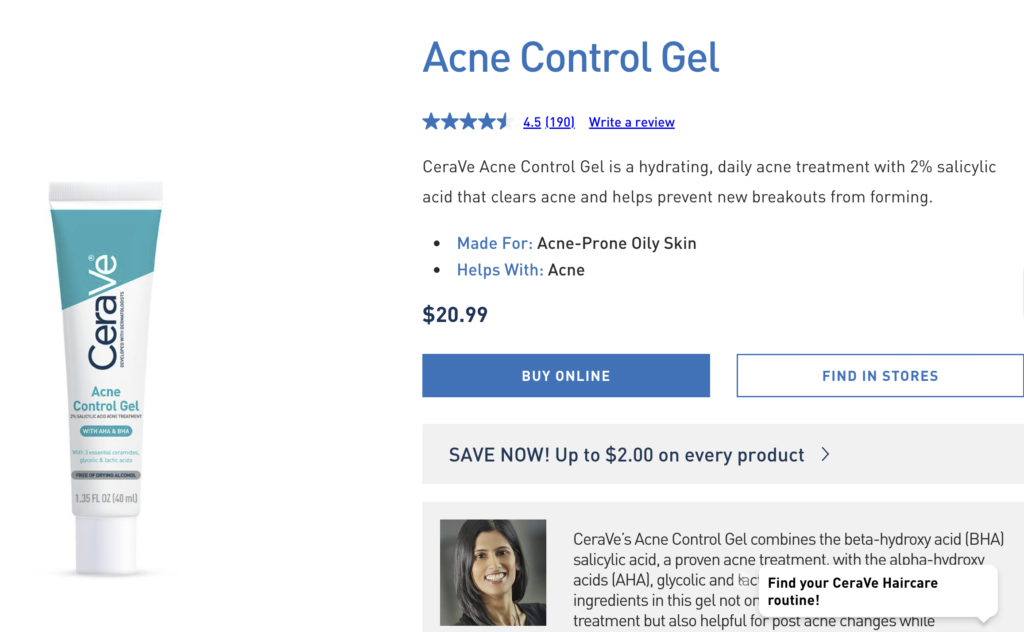
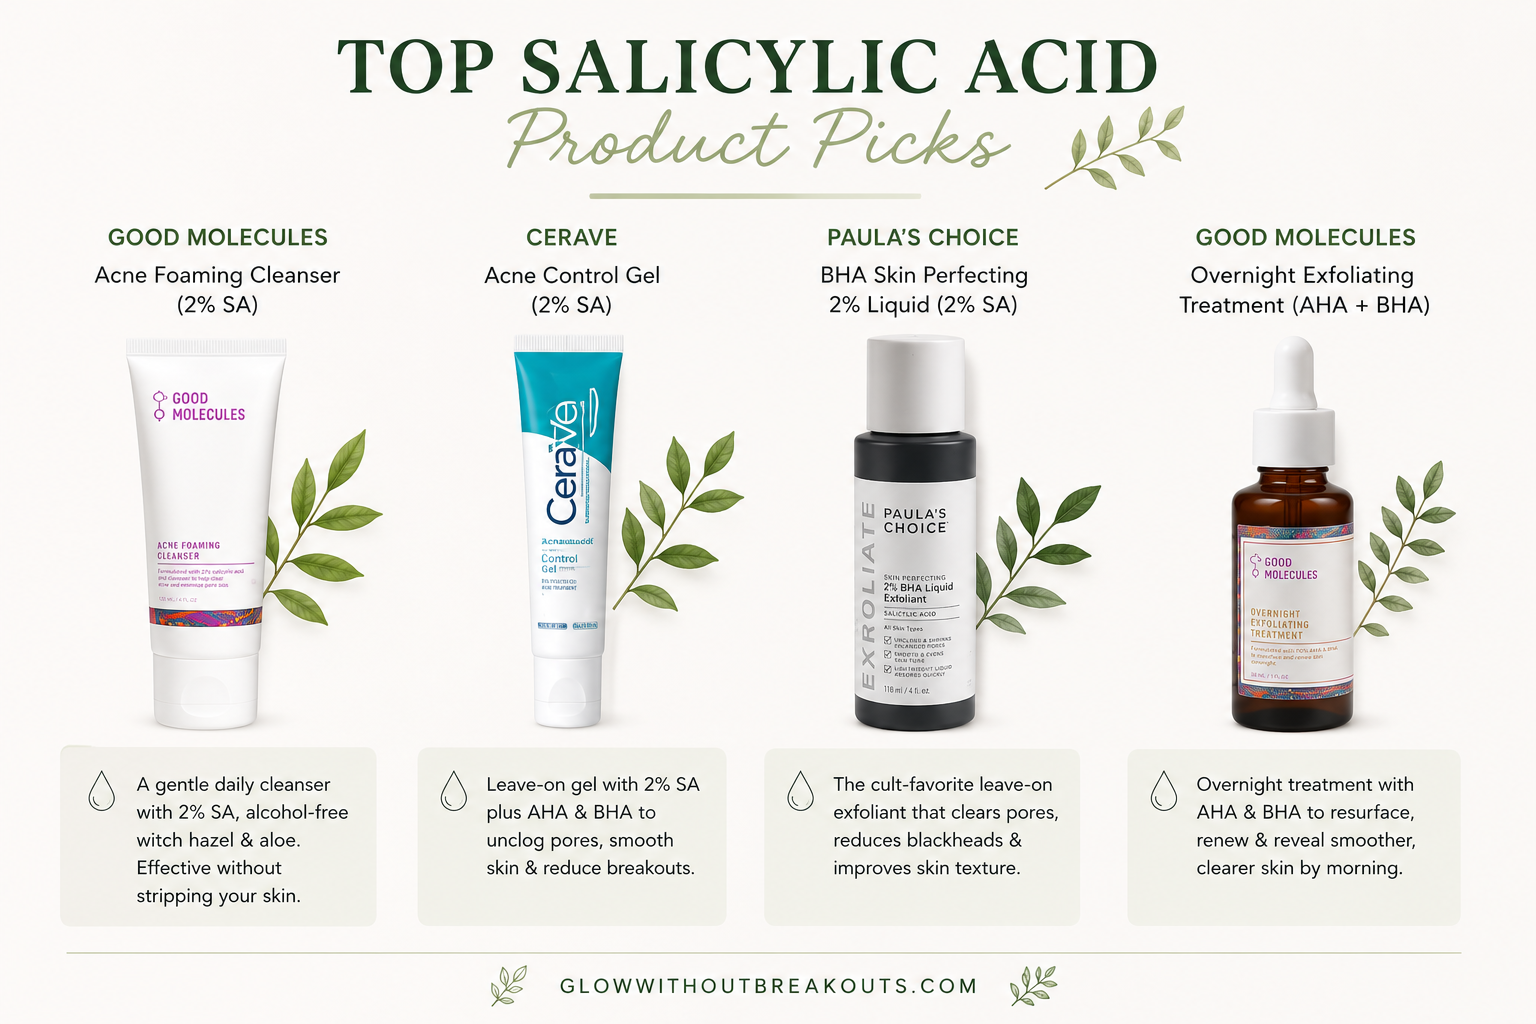
For a gentle daily cleanser with SA, the Good Molecules Acne Foaming Cleanser | Good Molecules Official Site is one of the most affordable and well-formulated options available. It has 2% SA with alcohol-free witch hazel and aloe, making it effective without stripping. The CeraVe Acne Control Gel | CeraVe Official Site is a great leave-on option with 2% SA alongside AHA and BHA, while the Paula’s Choice BHA Skin Perfecting 2% Liquid | Paula’s Choice Official Site is the cult favorite leave-on SA treatment that has been clearing pores for years. For an overnight treatment, the Good Molecules Overnight Exfoliating Treatment combines AHA and BHA to resurface and renew skin while you sleep.
💡 Best for: Blackheads, whiteheads, clogged pores, oily skin, and preventing future breakouts. Salicylic acid is the prevention and maintenance side of the salicylic acid vs benzoyl peroxide equation.
Related reading
Best Cleansers for Acne-Prone Skin: Tested & Ranked
What Is Benzoyl Peroxide and How Does It Fight Acne?
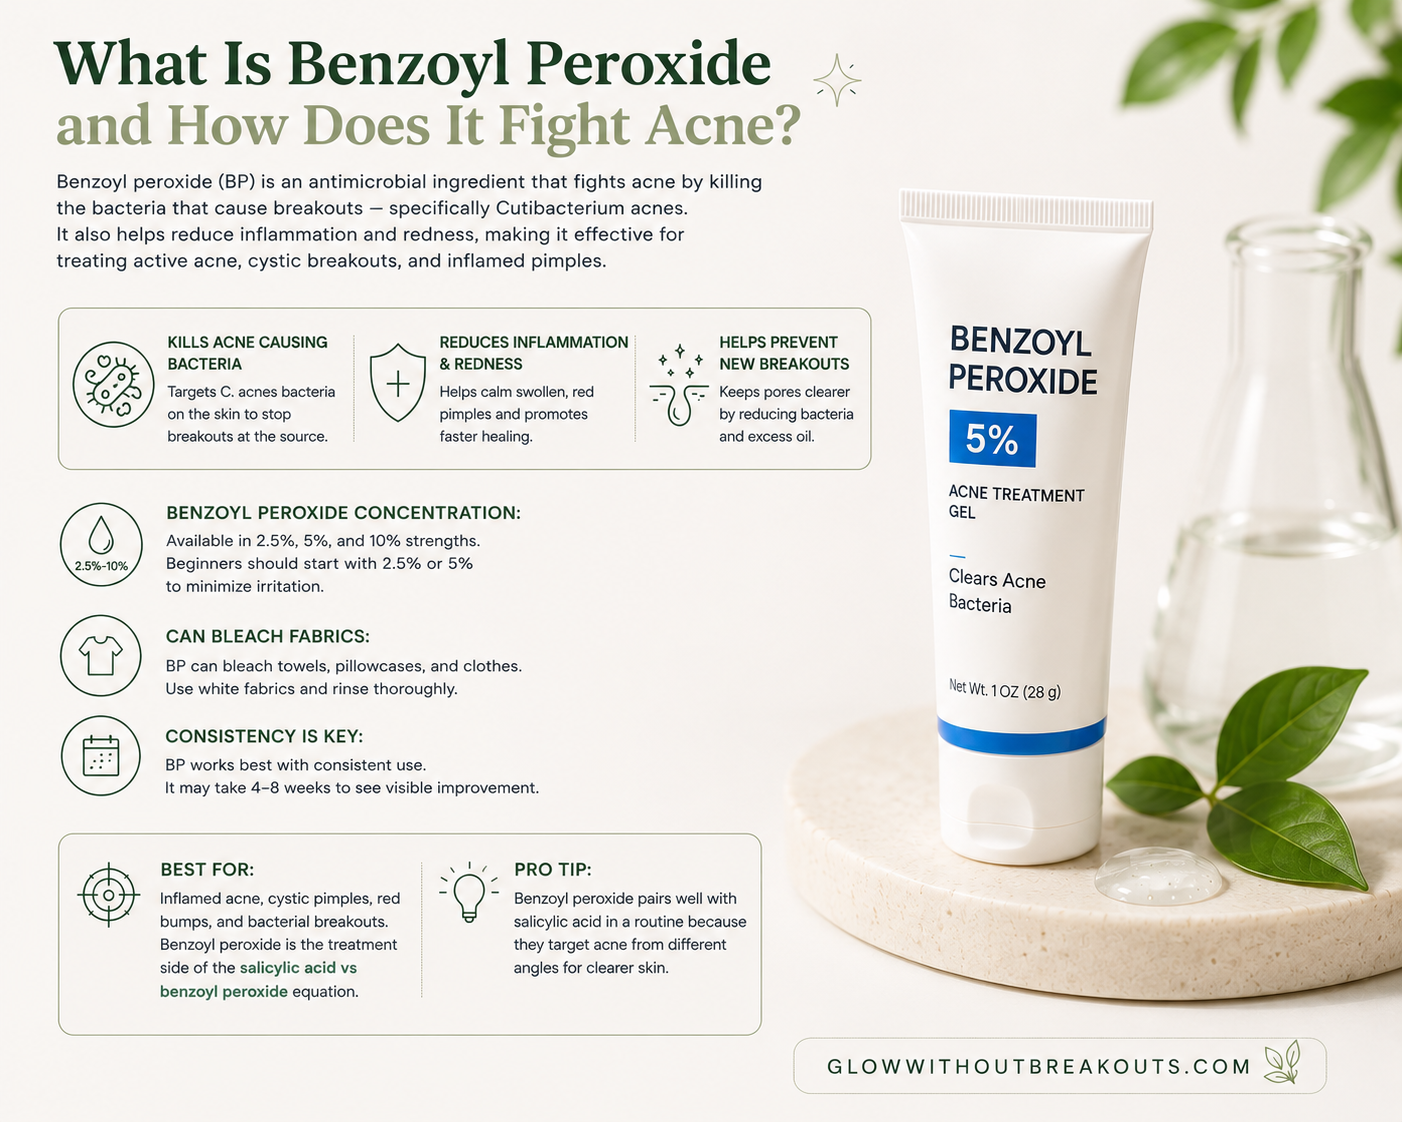
Benzoyl peroxide works completely differently from salicylic acid. Where salicylic acid clears pores, benzoyl peroxide kills bacteria. Specifically it kills Cutibacterium acnes, the bacteria most responsible for inflammatory acne, by introducing oxygen into the pore environment. C. acnes is anaerobic, meaning it cannot survive in oxygen. Benzoyl peroxide floods the pore with oxygen and the bacteria die. It also helps remove dead skin cells and excess oil from the surface of the skin, but bacterial killing is its primary superpower.
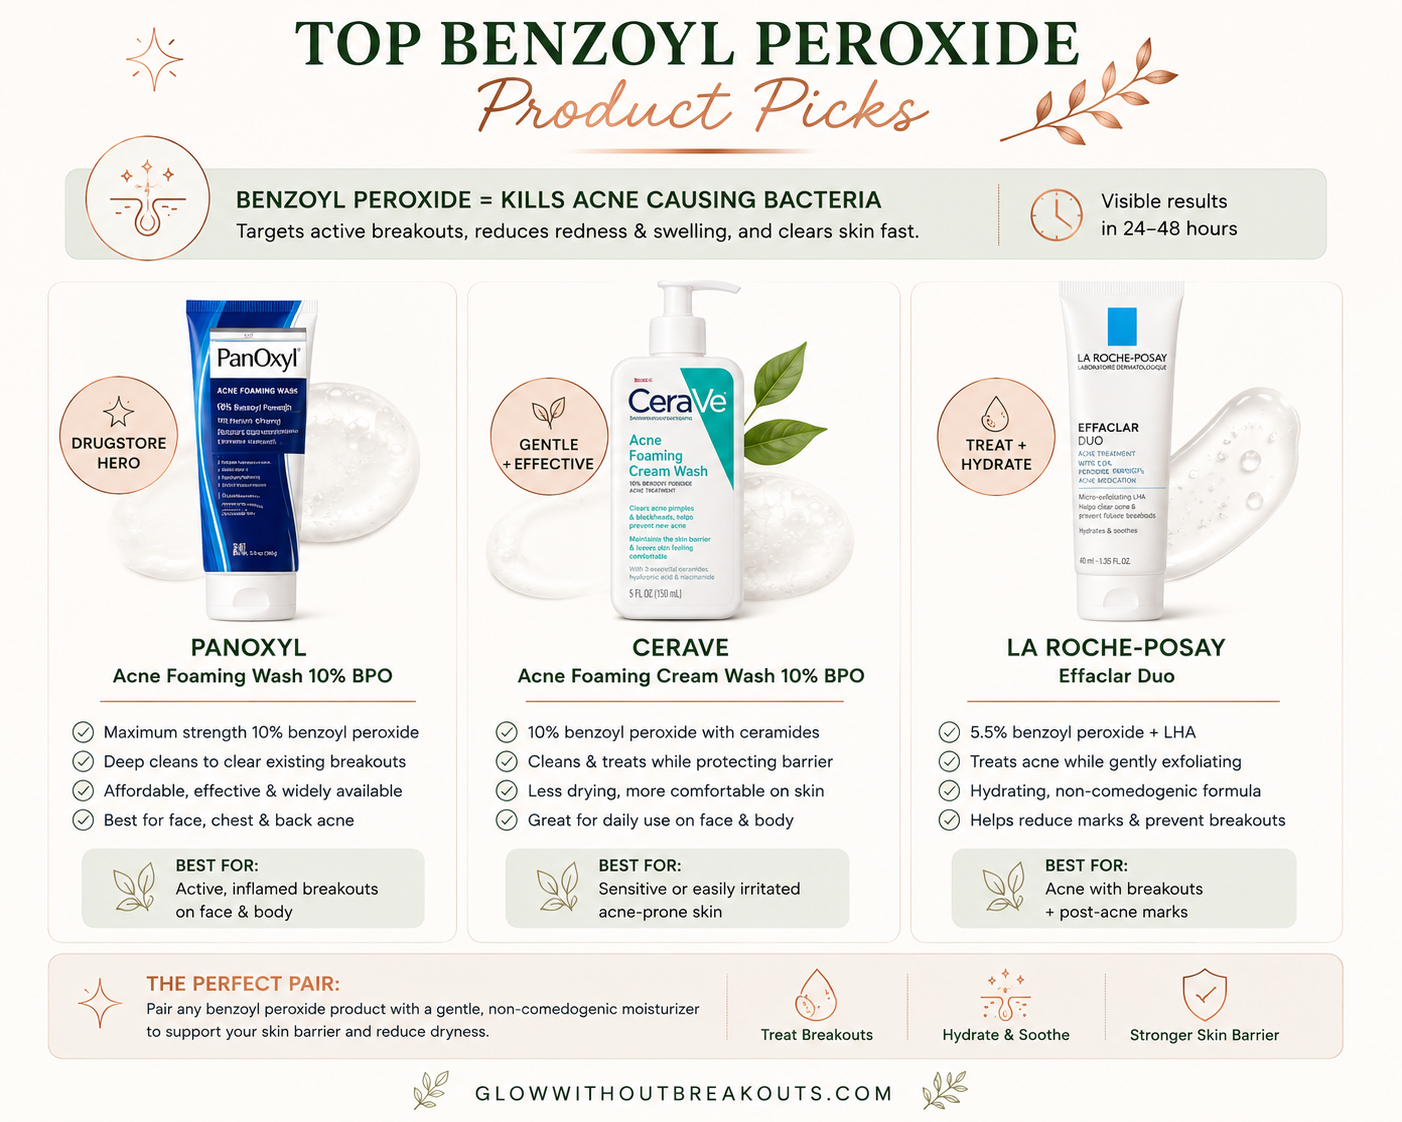
In the salicylic acid vs benzoyl peroxide comparison, benzoyl peroxide is the heavier hitter for active, inflamed breakouts. If salicylic acid is your everyday prevention tool, benzoyl peroxide is your emergency response. It works faster on active pimples, reduces redness and swelling, and can visibly shrink a pimple within 24-48 hours of use. I have personally used both, and the difference in speed of action is noticeable: benzoyl peroxide gets to work faster on a painful cyst or inflamed pimple than salicylic acid does.
Benzoyl peroxide is available in concentrations of 2.5%, 5%, and 10% over the counter. Contrary to what most people assume, higher is not always better. Studies show that 2.5% benzoyl peroxide is nearly as effective as 10% for treating acne but causes significantly less irritation and dryness.
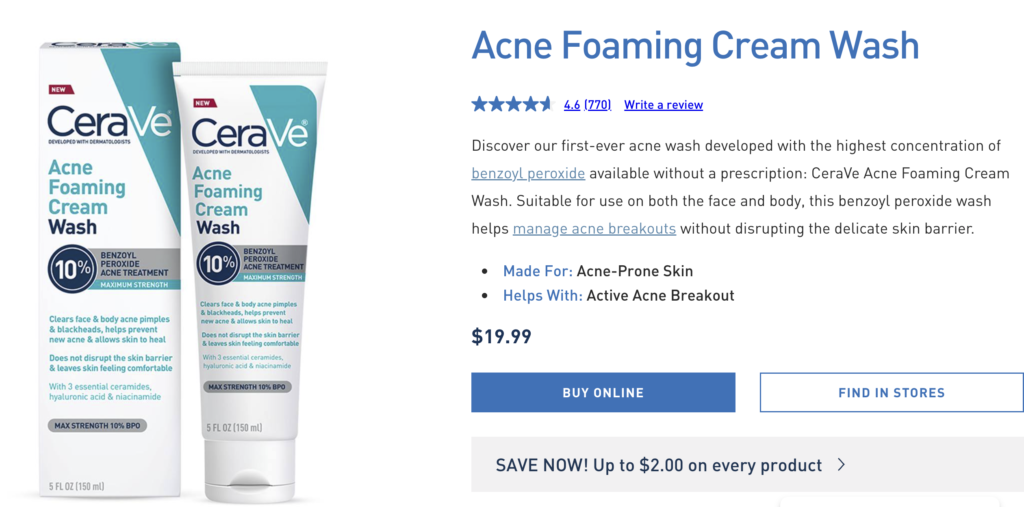
The PanOxyl Acne Foaming Wash 10% BPO | PanOxyl Official Site is the drugstore hero for benzoyl peroxide — affordable, widely available, and genuinely effective for active inflammatory acne. The CeraVe Acne Foaming Cream Wash 10% BPO | CeraVe Official Site is a slightly gentler formulation with ceramides built in to protect your barrier while the BPO works. If you want something that combines treatment with hydration, the La Roche-Posay Effaclar Duo | La Roche-Posay Official Site uses benzoyl peroxide alongside lipo-hydroxy acid in a moisturizing formula that is gentler on the skin barrier than most standalone BPO products.
💡 Best for: Inflamed pimples, cysts, papules, and pustules. Benzoyl peroxide is the active treatment side of the salicylic acid vs benzoyl peroxide equation — best for killing bacteria and clearing existing breakouts fast.
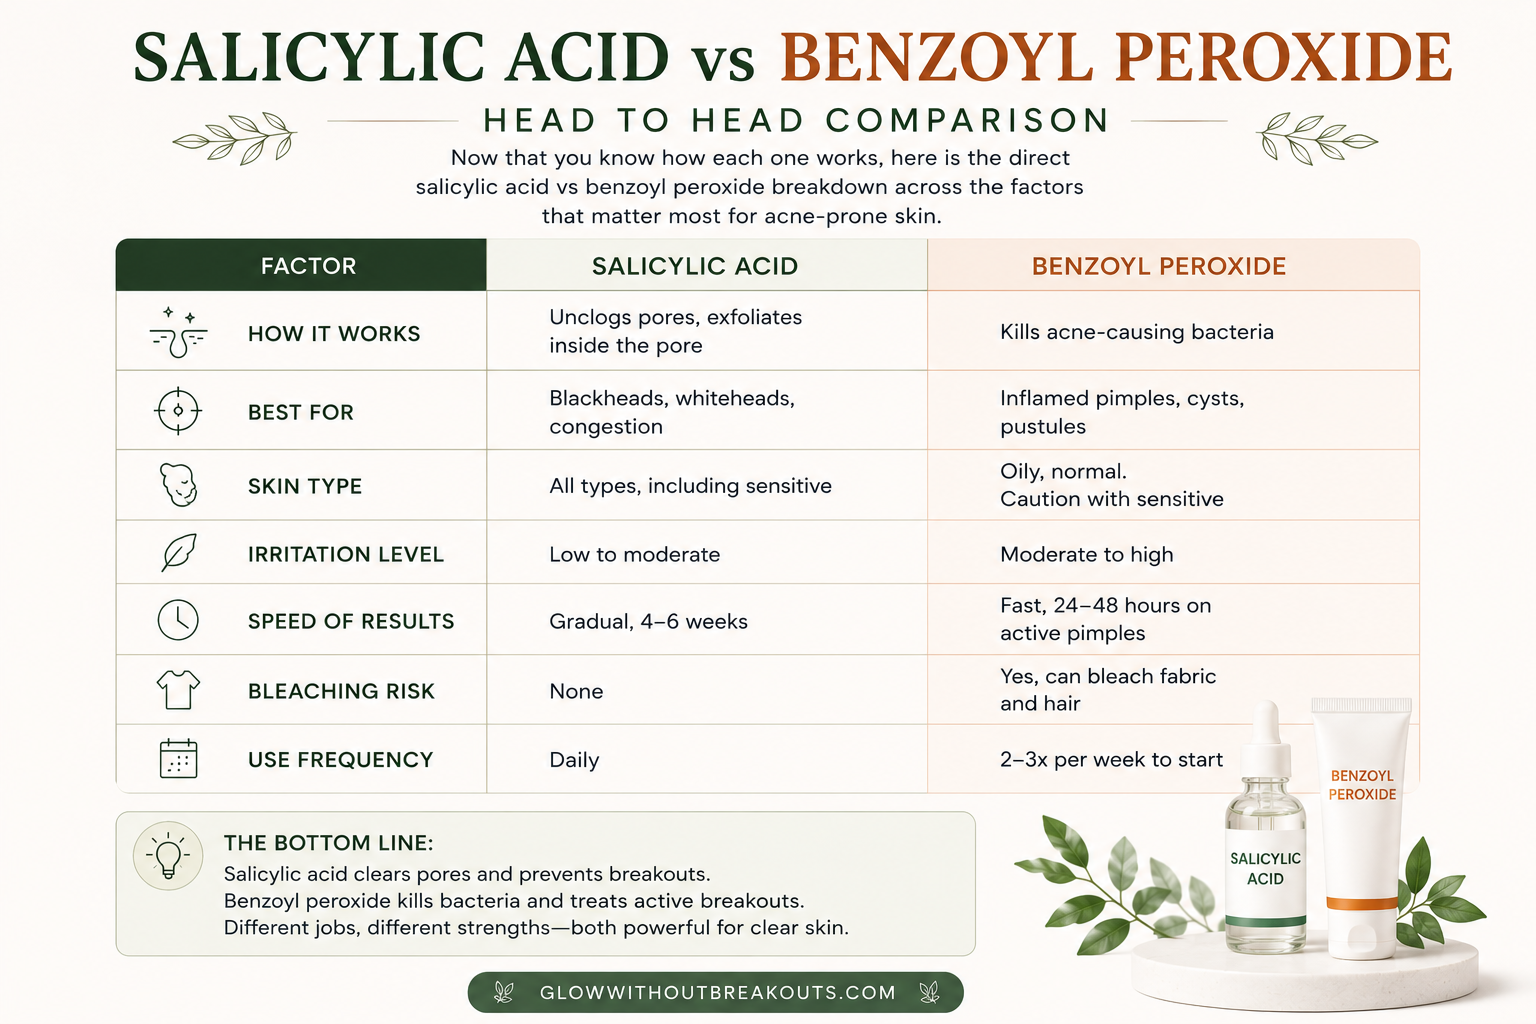
Salicylic Acid vs Benzoyl Peroxide: Head to Head
Now that you know how each one works, here is the direct salicylic acid vs benzoyl peroxide breakdown across the factors that matter most for acne-prone skin.
Salicylic Acid vs Benzoyl Peroxide: Quick Comparison
Salicylic Acid vs Benzoyl Peroxide: Which One Is Right for You?
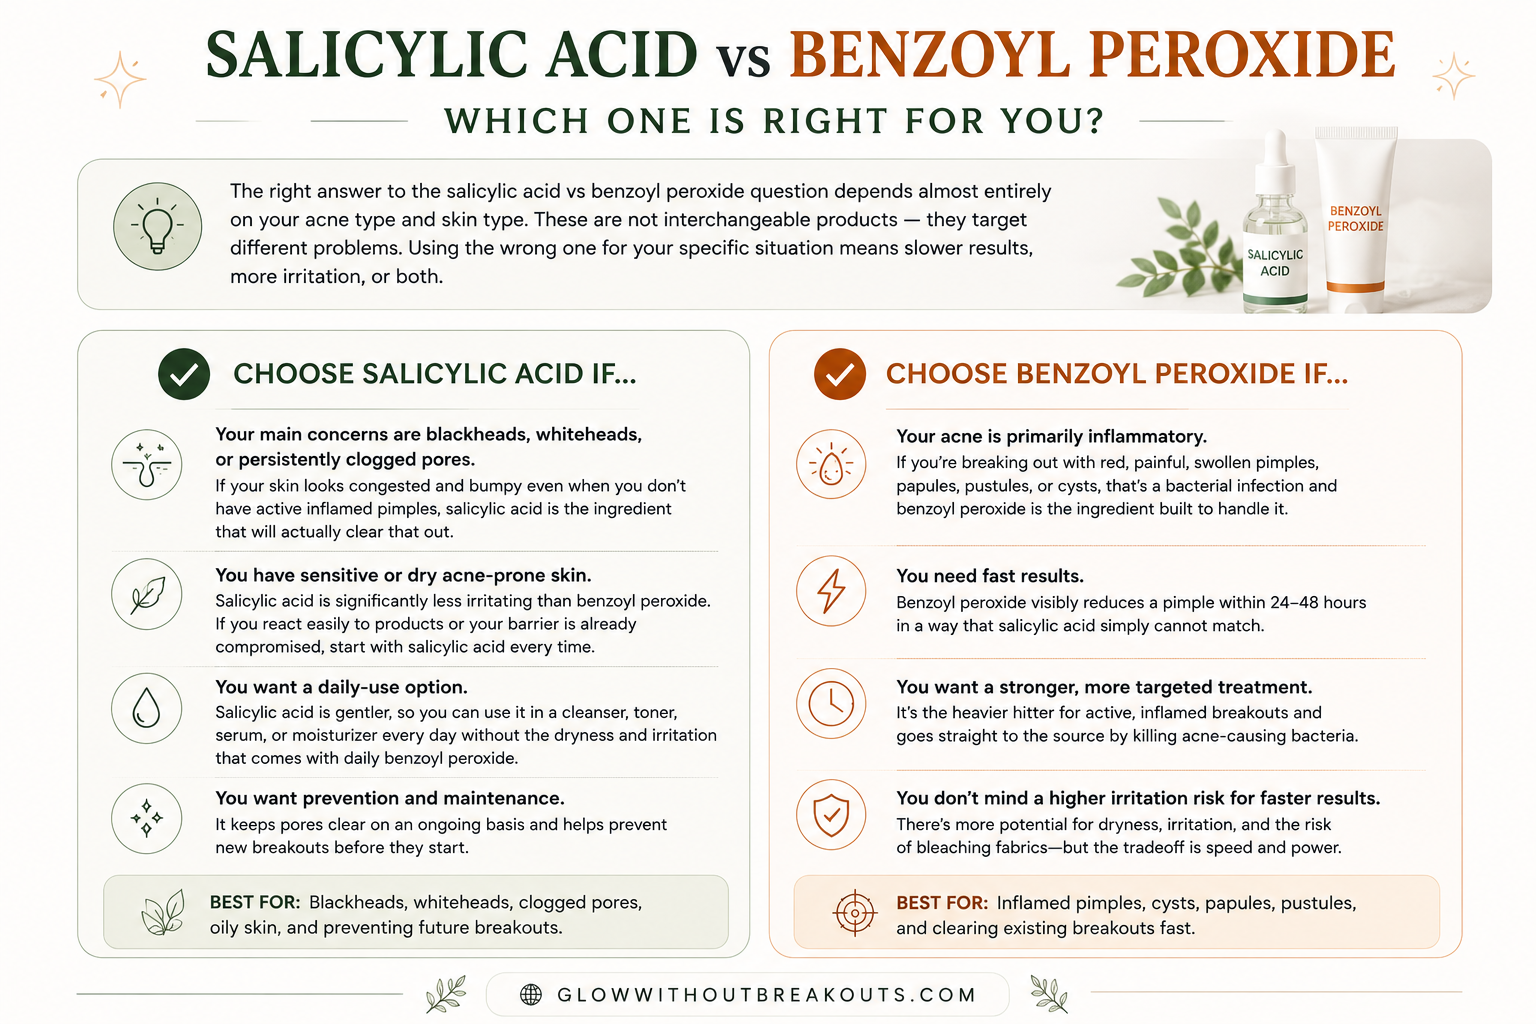
The right answer to the salicylic acid vs benzoyl peroxide question depends almost entirely on your acne type and skin type. These are not interchangeable products — they target different problems. Using the wrong one for your specific situation means slower results, more irritation, or both.
Choose Salicylic Acid If…
Salicylic acid wins the salicylic acid vs benzoyl peroxide debate for you if your main acne concerns are blackheads, whiteheads, or persistently clogged pores. If your skin looks congested and bumpy even when you do not have active inflamed pimples, salicylic acid is the ingredient that will actually clear that out. It is also the better choice if you have sensitive or dry acne-prone skin because it is significantly less irritating than benzoyl peroxide. If you react easily to products or your barrier is already compromised, start with salicylic acid every time.
Salicylic acid is also the better daily-use option in the salicylic acid vs benzoyl peroxide comparison. Because it is gentler, you can use it in a cleanser, a toner, a serum, or a moisturizer every single day without the dryness and irritation that comes with daily benzoyl peroxide use. It keeps pores clear on an ongoing basis rather than just treating active breakouts.
Related reading
Stop Guessing: 3 Routines Based on Your Acne Skin Type
Choose Benzoyl Peroxide If…
Benzoyl peroxide wins the salicylic acid vs benzoyl peroxide debate for you if your acne is primarily inflammatory: red, painful, swollen pimples, papules, pustules, or cysts. If you are breaking out with the kind of pimples that hurt when you touch them, that is a bacterial infection and benzoyl peroxide is the ingredient built to handle it. It is also the better choice when you need fast results because it visibly reduces a pimple within 24-48 hours in a way that salicylic acid simply cannot match.
In my personal experience with salicylic acid vs benzoyl peroxide, benzoyl peroxide is the ingredient I reach for when a pimple shows up before something important. It is faster, more aggressive, and more effective on active inflamed acne. The tradeoff is more potential for irritation, dryness, and the very real risk of bleaching your pillowcase and towels if you are not careful.
Related reading
Best Ways to Make a Pimple Go Away Fast
Can You Use Salicylic Acid and Benzoyl Peroxide Together?
Yes, you can use both in the same routine — but not at the same time in the same step. The salicylic acid vs benzoyl peroxide question does not have to be either/or. Most people with moderate to severe acne benefit from using both strategically because they target completely different mechanisms. Salicylic acid keeps pores clear and prevents congestion. Benzoyl peroxide kills the bacteria that cause inflamed breakouts. Together they cover both sides of the acne equation.
The key when using salicylic acid vs benzoyl peroxide together is to separate them to avoid over-irritating your skin. The most effective approach is to use salicylic acid in your daily routine — in a cleanser or leave-on product — and reserve benzoyl peroxide for spot treatment on active breakouts or for 2-3 times per week use in a wash-off cleanser. Never layer them directly on top of each other in the same routine. That combination is almost guaranteed to strip and irritate your skin, which can actually make breakouts worse by compromising your barrier.
💬 My Experience: When I was figuring out salicylic acid vs benzoyl peroxide for my own skin, I made the mistake of using both every single day thinking more was better. My skin became so dry and irritated that I started breaking out even more. Once I separated them, using salicylic acid daily and benzoyl peroxide only 2-3 times a week as a targeted treatment, my skin completely calmed down and actually cleared up. The separation is everything.
Related reading
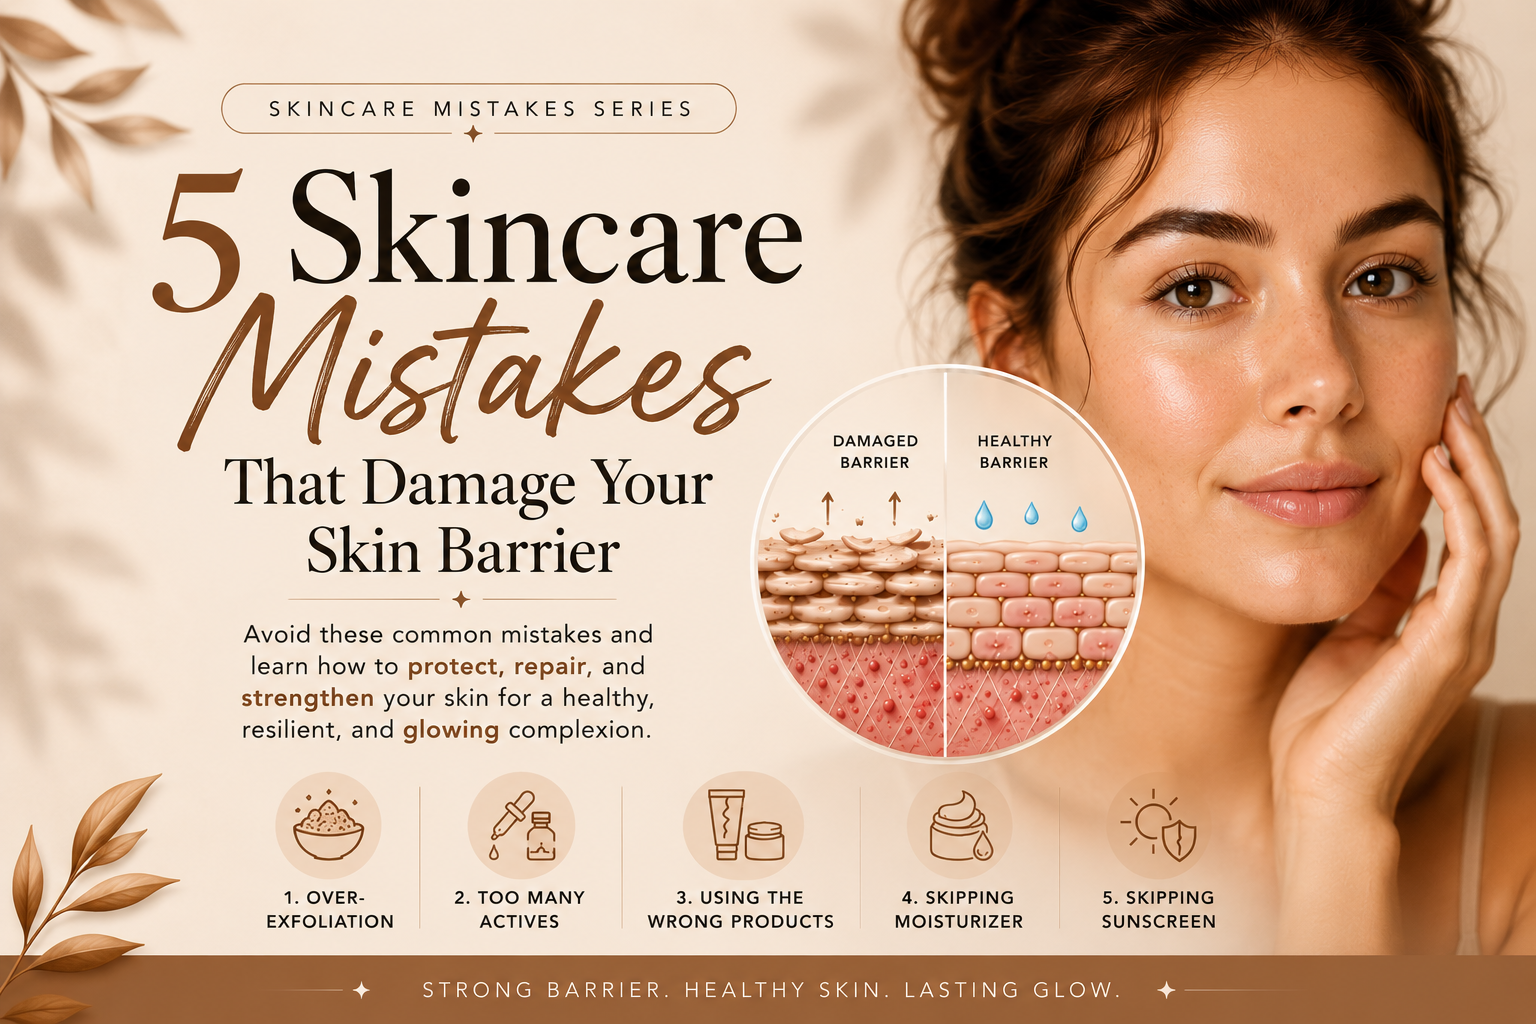
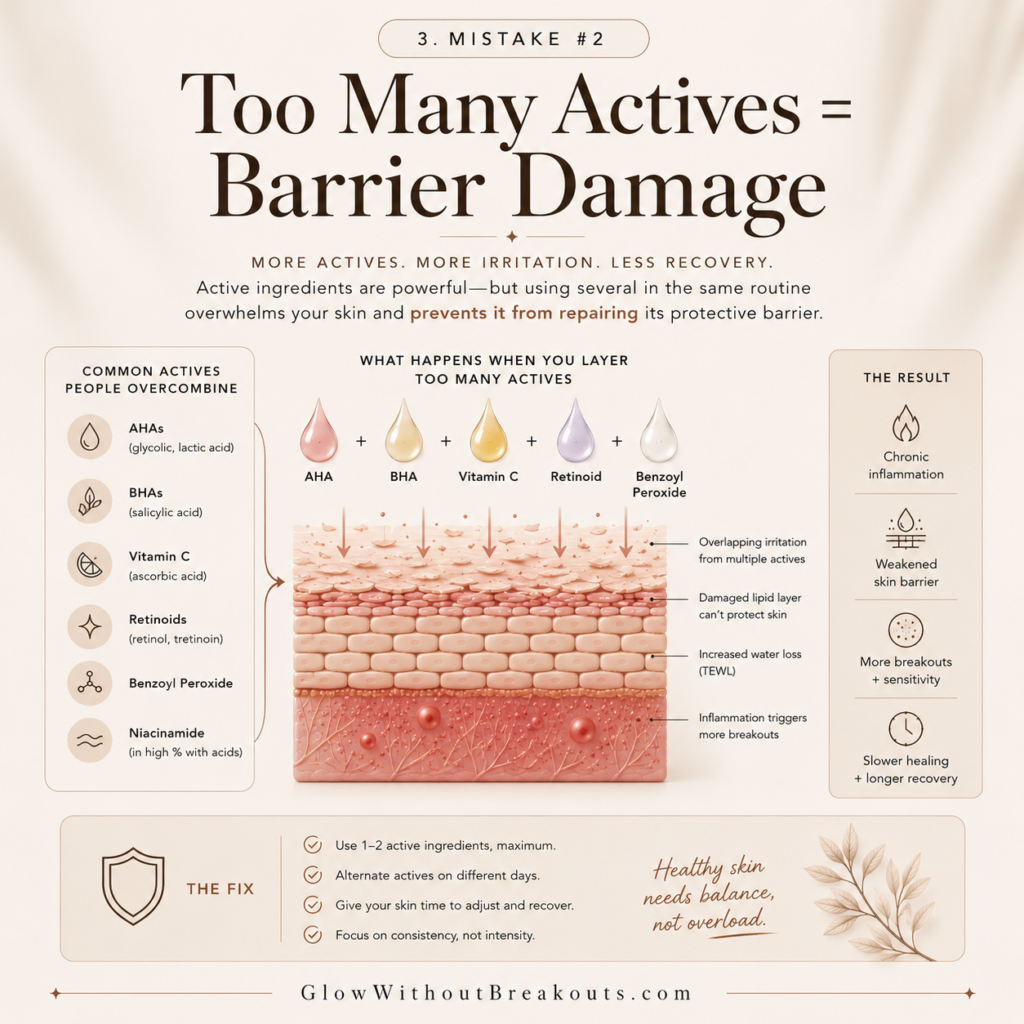
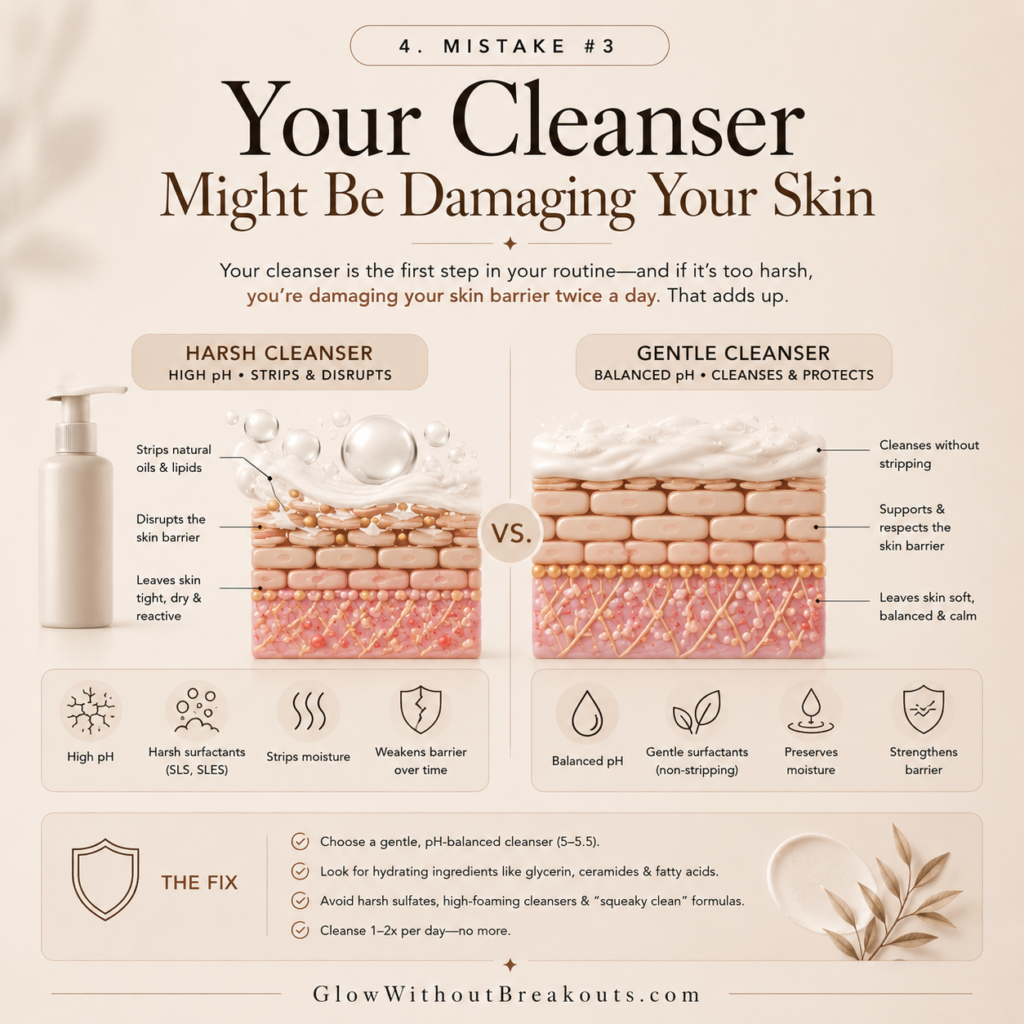
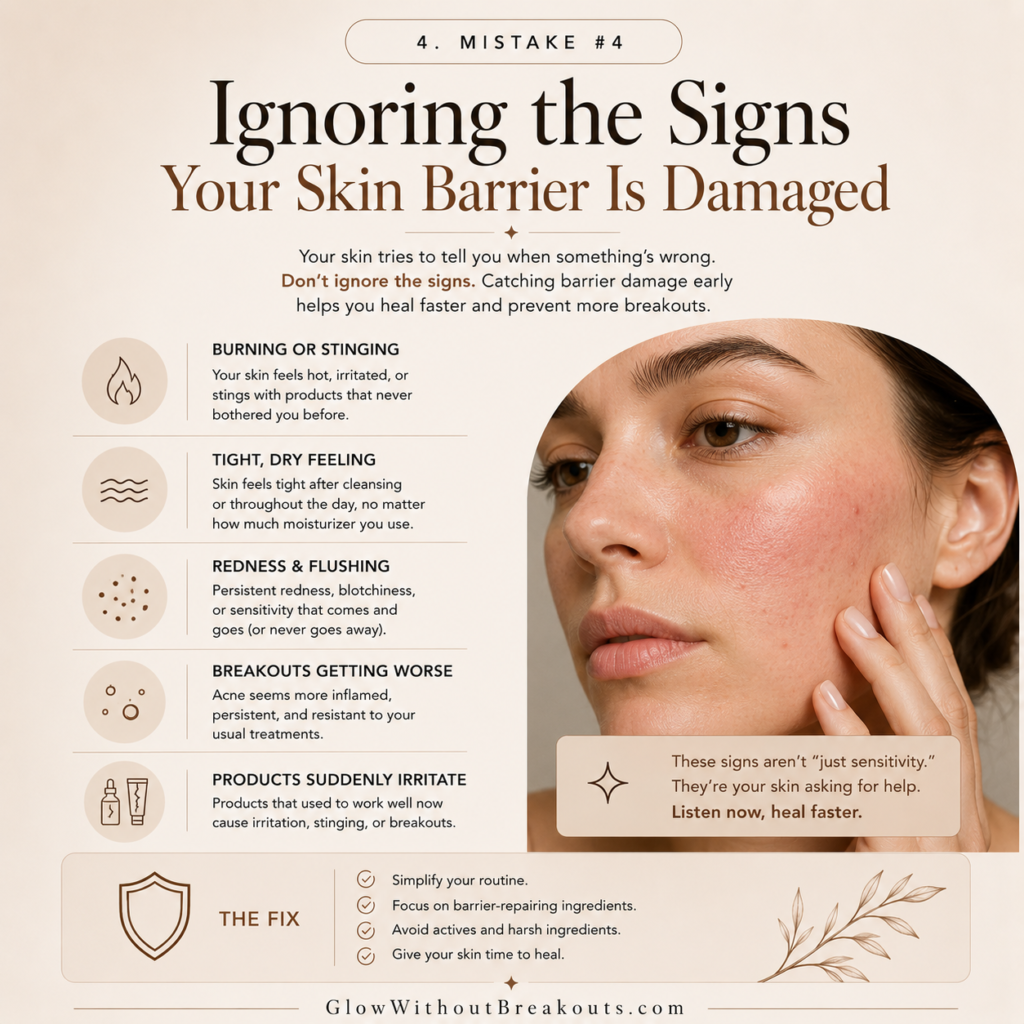
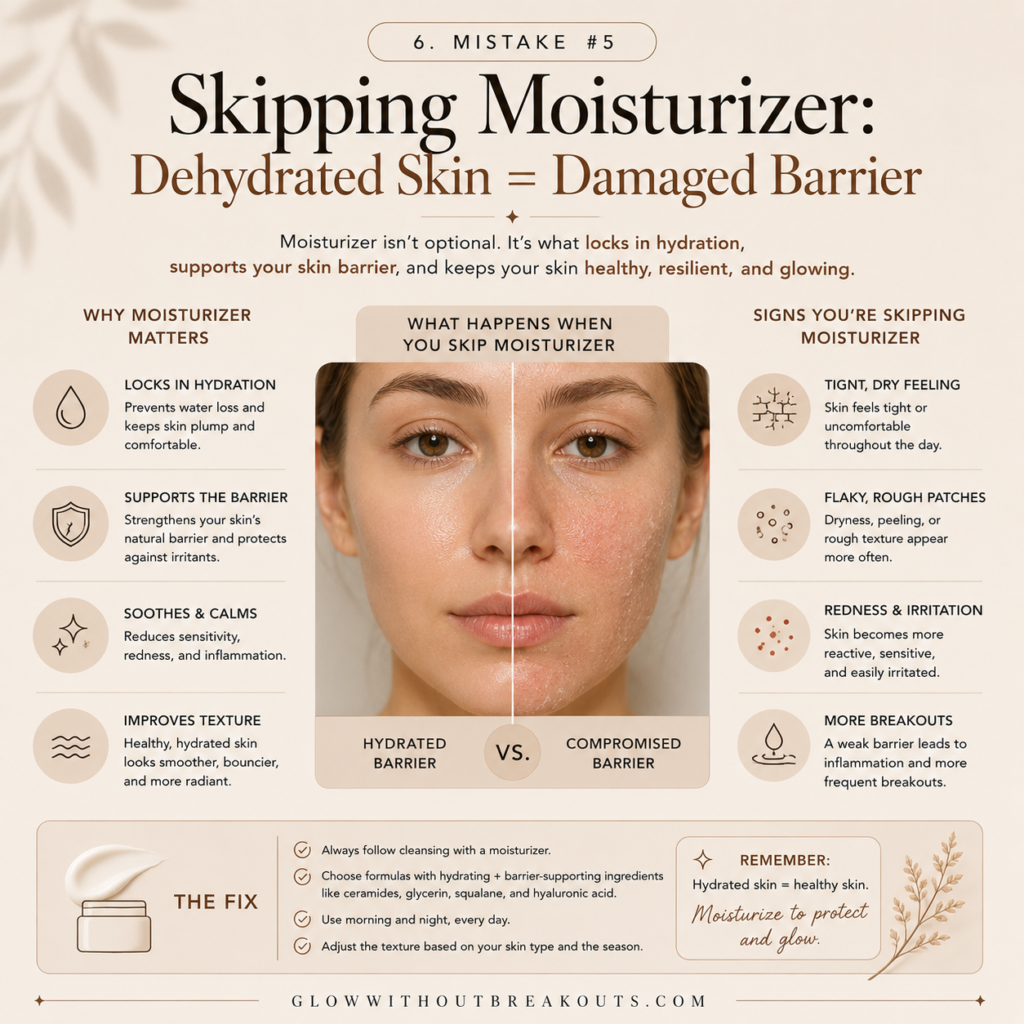
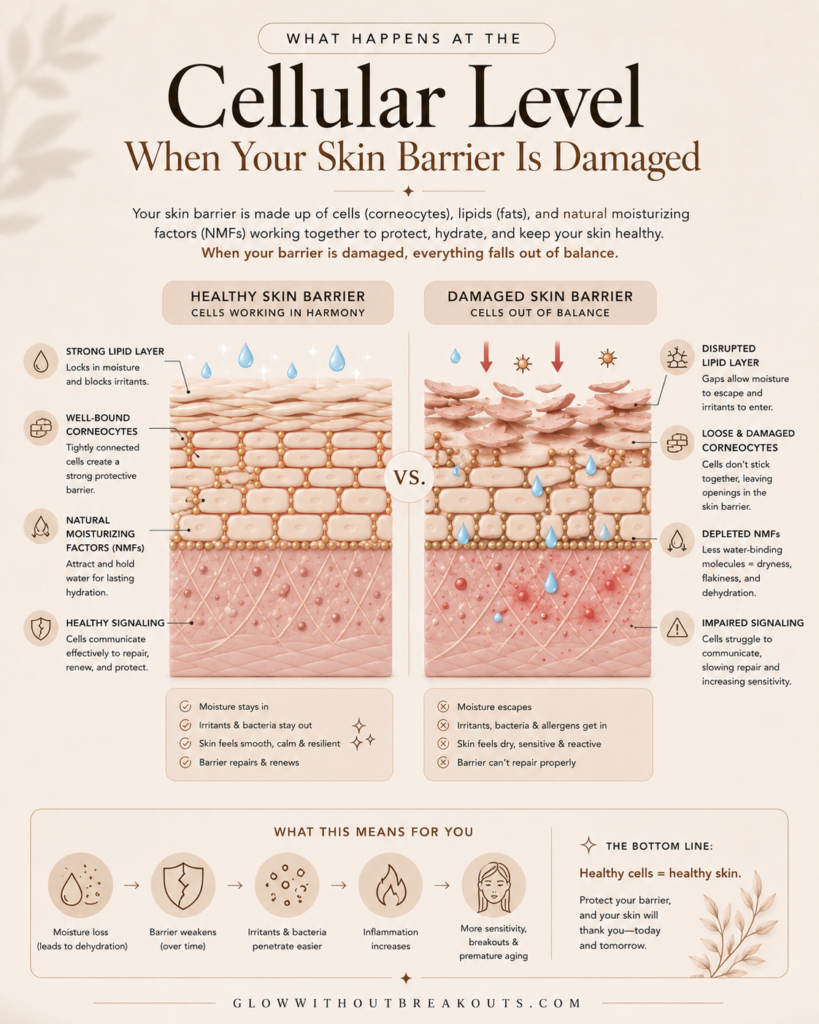
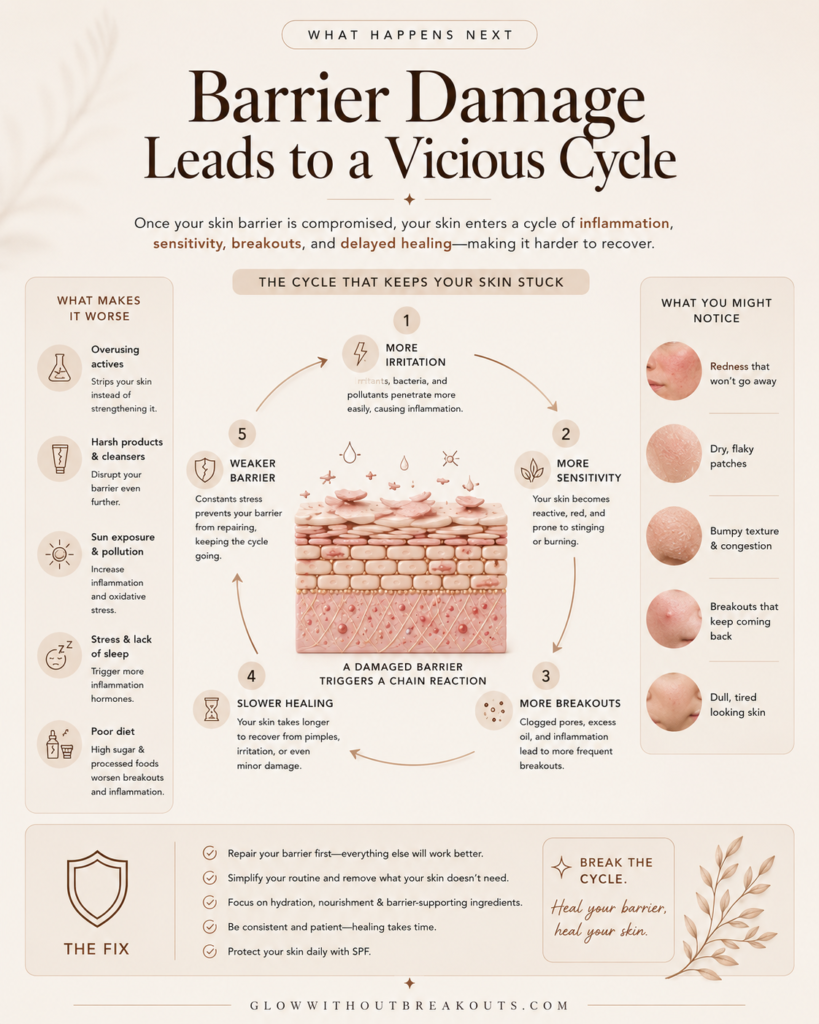
5 Critical Mistakes That Shattered Your Skin Barrier
How to Use Salicylic Acid vs Benzoyl Peroxide in Your Routine
Here is exactly how to incorporate salicylic acid vs benzoyl peroxide into a real routine without over-doing it. This is the approach that worked for my own acne-prone skin after years of trial and error.
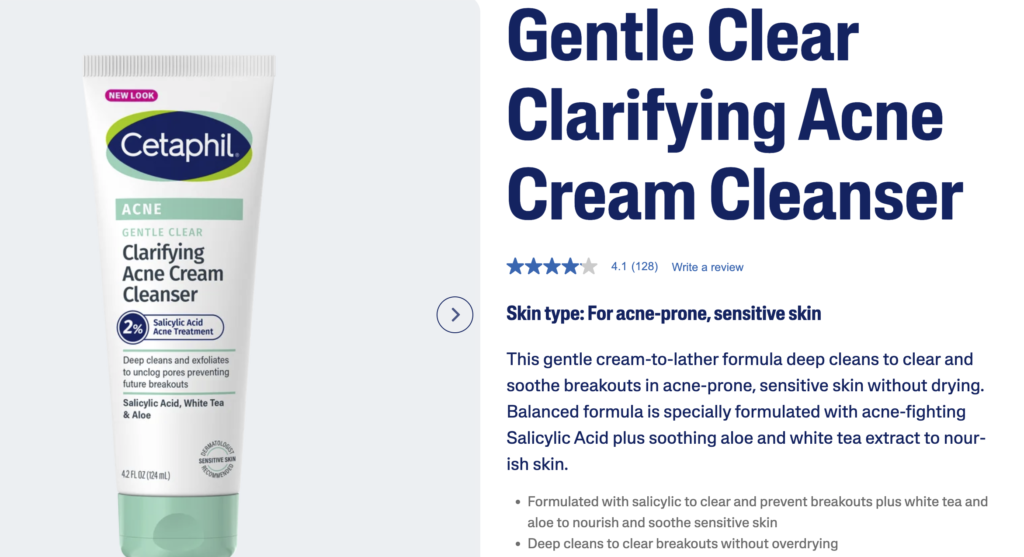
☀️ AM Routine: Cleanse with a salicylic acid cleanser like the Cetaphil Gentle Clear Clarifying Acne Cream Cleanser or use a gentle non-active cleanser and apply the CeraVe Acne Control Gel as a leave-on treatment. Follow with moisturizer and SPF. No benzoyl peroxide in the morning — it increases sun sensitivity.
🌙 PM Routine (2-3x per week): Cleanse with the CeraVe Acne Foaming Cream Wash 10% BPO on the nights you use benzoyl peroxide. Follow immediately with a ceramide-rich moisturizer to counteract the dryness. Do not use salicylic acid on the same night as your benzoyl peroxide wash.
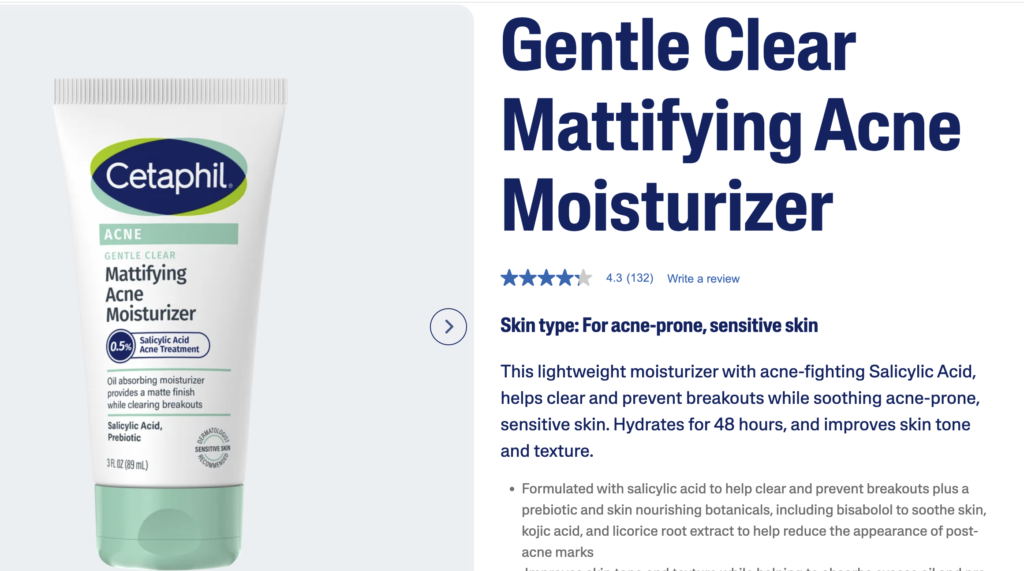
🌙 PM Routine (other nights): Use a gentle cleanser with no actives and apply your salicylic acid leave-on treatment or the Cetaphil Gentle Clear Mattifying Acne Moisturizer which contains 0.5% SA to gently treat overnight. This keeps pores clear on your off nights from benzoyl peroxide.
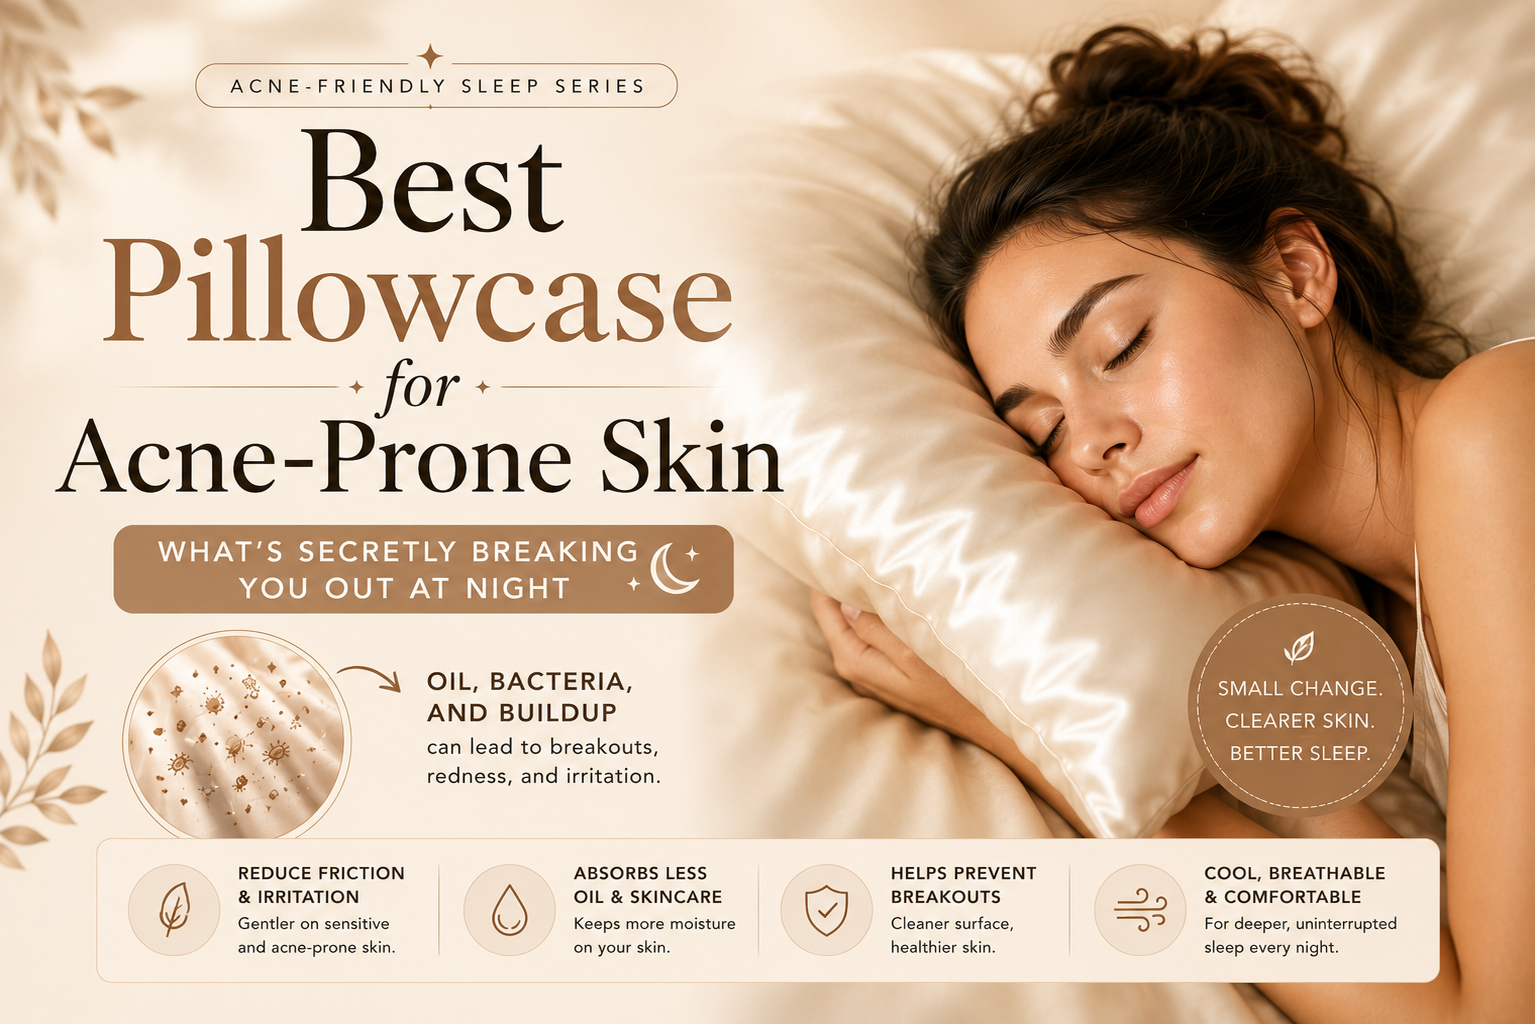
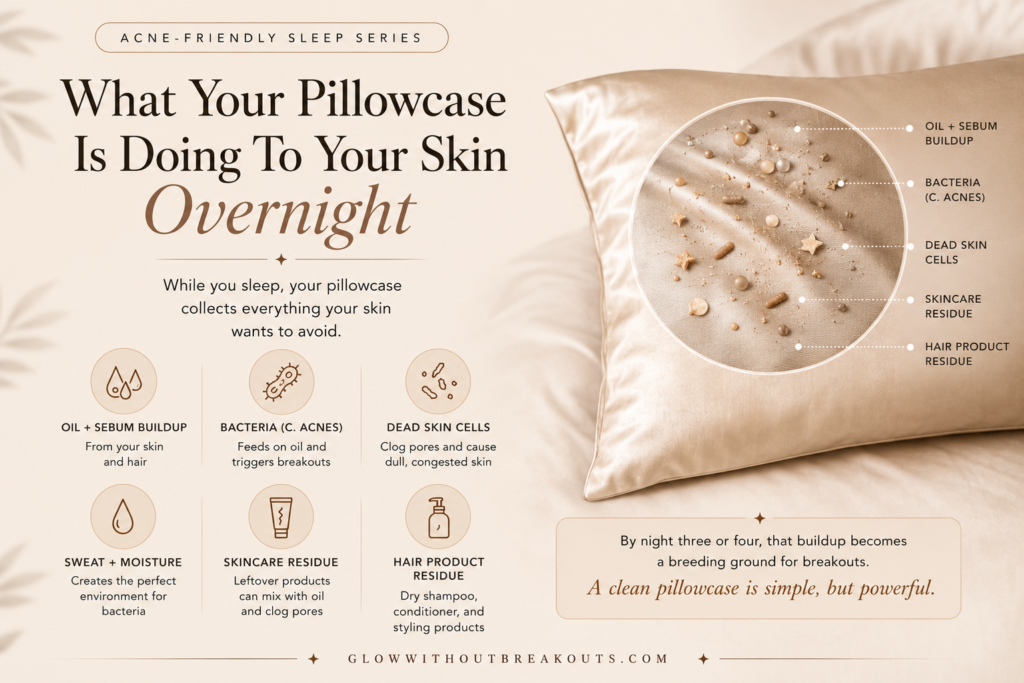
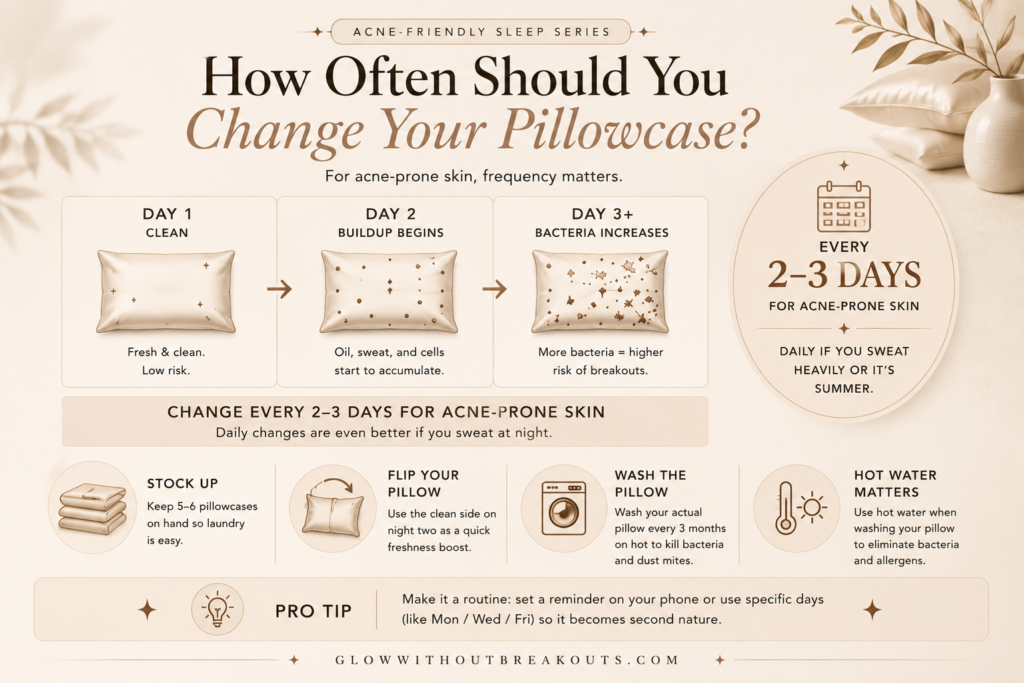
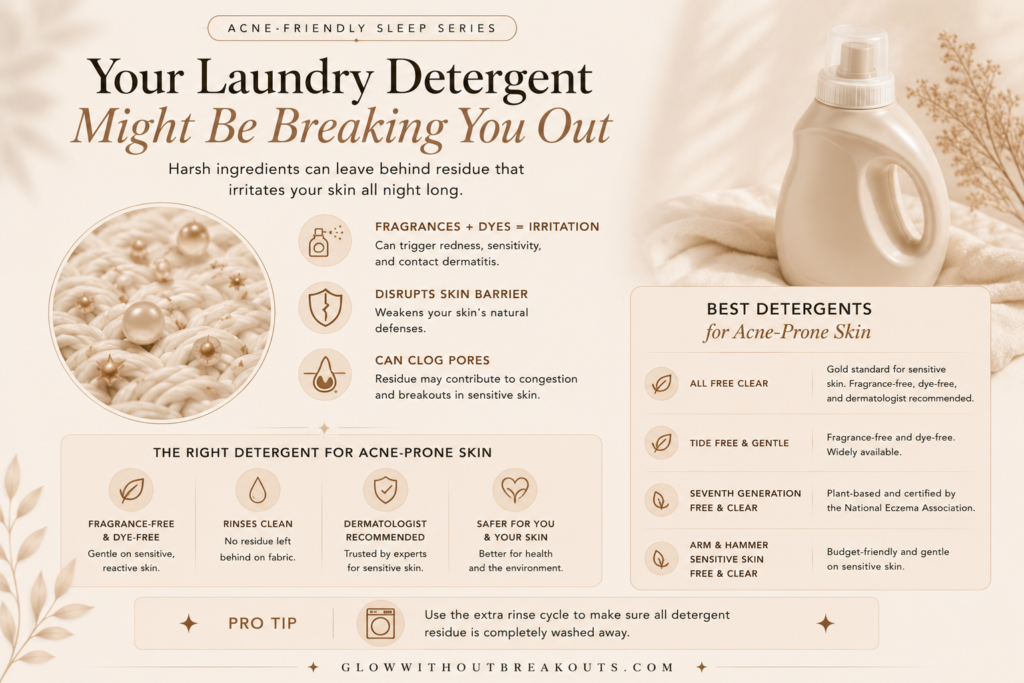
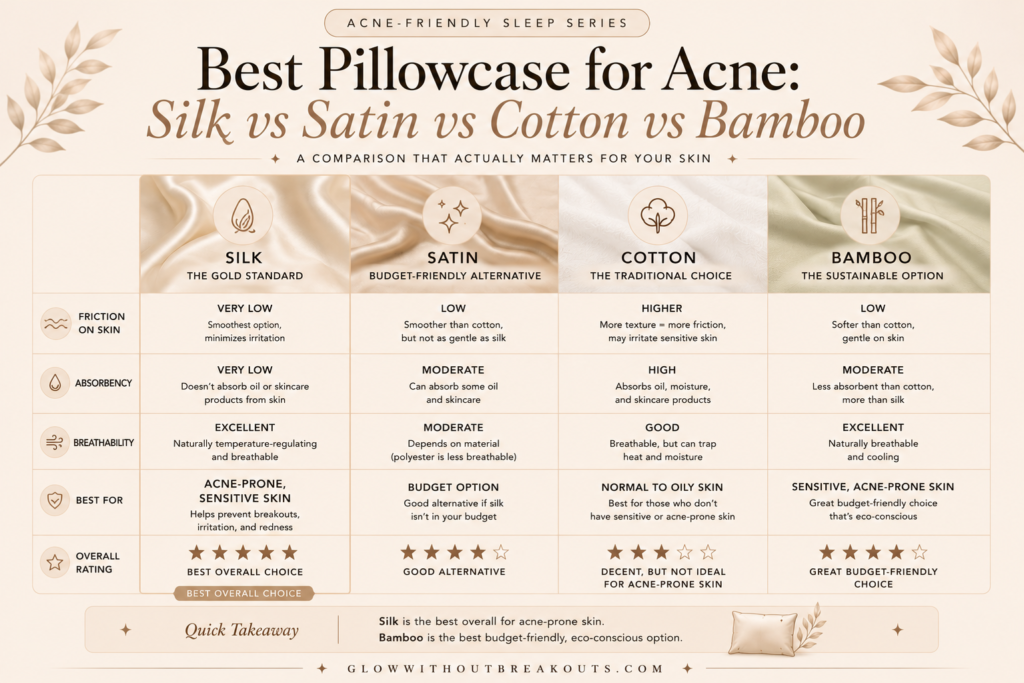
💡 Pro Tip: Benzoyl peroxide bleaches fabric. If you use it in a leave-on product or wash it off and some residue is left on your skin, it will bleach your pillowcase and towels. Use white pillowcases and white towels on nights you use benzoyl peroxide, or switch to a wash-off BPO cleanser only. Read more about the best pillowcases for acne-prone skin here.
Related reading
Best Pillowcase for Acne-Prone Skin: What’s Actually Breaking You Out at Night
Shop Salicylic Acid and Benzoyl Peroxide Products
Salicylic Acid vs Benzoyl Peroxide for Specific Acne Types
One of the most useful ways to think about salicylic acid vs benzoyl peroxide is by matching each ingredient to the specific type of acne you are dealing with. Not all acne is the same and the ingredient that works for one type can be completely wrong for another.
Salicylic Acid vs Benzoyl Peroxide for Hormonal Acne
Hormonal acne typically shows up as deep, painful cysts around the chin, jawline, and lower cheeks. It is driven by androgen hormones that increase sebum production and trigger inflammation deep in the pore. When it comes to salicylic acid vs benzoyl peroxide for hormonal acne, neither ingredient is a complete solution on its own because the root cause is internal.
With that being said, benzoyl peroxide is the better topical option for active hormonal breakouts because it targets the bacterial component that makes hormonal cysts so inflamed and painful. Salicylic acid helps prevent the clogging that can make hormonal breakouts worse, so using both strategically: salicylic acid daily and benzoyl peroxide as a spot treatment, gives you the best coverage for hormonal acne.
If you are dealing with persistent hormonal acne that does not respond to topical treatment, it is worth talking to a dermatologist about prescription options. Topical retinoids, oral medications, and hormonal treatments can work alongside salicylic acid vs benzoyl peroxide for better long-term results.
Related reading
Does Stress Really Cause Acne? Here’s What the Science Says
Salicylic Acid vs Benzoyl Peroxide for Back and Chest Acne
Back and chest acne responds really well to both ingredients but in slightly different ways than facial acne. The skin on your back and chest is thicker and less sensitive than facial skin, which means it can generally tolerate higher concentrations and more frequent use without the same level of irritation. In the salicylic acid vs benzoyl peroxide comparison for body acne, benzoyl peroxide body washes are often the most effective starting point because body acne tends to be more inflammatory and bacterial than facial acne. The PanOxyl Acne Foaming Wash 10% BPO is a popular choice for back and chest acne specifically because of its high concentration and wash-off format.
Salicylic acid body sprays and washes are useful for maintaining clear skin between flare-ups and preventing the clogged pores that contribute to back and chest breakouts. If you sweat a lot or work out regularly, a salicylic acid body wash used after exercise is one of the most effective preventive steps you can take for body acne.
Salicylic Acid vs Benzoyl Peroxide for Blackheads and Whiteheads
This is where salicylic acid wins the salicylic acid vs benzoyl peroxide debate clearly and without much contest. Blackheads and whiteheads are non-inflammatory comedones — they are caused by clogged pores, not by bacteria. Benzoyl peroxide kills bacteria and has minimal effect on comedones because there is no bacterial infection to target. Salicylic acid, on the other hand, is specifically designed for this: it penetrates the pore, dissolves the buildup, and prevents new clogs from forming. If blackheads and whiteheads are your primary concern, salicylic acid used consistently is your best over-the-counter option. The Paula’s Choice BHA Skin Perfecting 2% Liquid and the Good Molecules Overnight Exfoliating Treatment are two of the most effective leave-on options for persistent blackheads.
Salicylic Acid vs Benzoyl Peroxide for Fungal Acne
Fungal acne, technically called Malassezia folliculitis, is a skin condition that looks like acne but is caused by an overgrowth of yeast rather than bacteria. This is an important distinction in the salicylic acid vs benzoyl peroxide discussion because neither ingredient is the right treatment for fungal acne.
Benzoyl peroxide targets bacterial acne specifically and has no effect on yeast. Salicylic acid can help with surface exfoliation but will not address the underlying fungal cause. If you have been using salicylic acid vs benzoyl peroxide consistently without improvement and your breakouts are small, uniform, itchy bumps that appear on your forehead, chest, or back, it is worth investigating whether you might have fungal acne rather than bacterial acne. A dermatologist can confirm with a simple exam and the treatment is completely different.
💡 Pro Tip: If you have been using salicylic acid vs benzoyl peroxide for months without seeing improvement, it is worth reconsidering whether your acne type is actually responding to these ingredients. Hormonal, fungal, and barrier-related breakouts all require different approaches. A dermatologist visit can save you months of using the wrong products.
Related reading
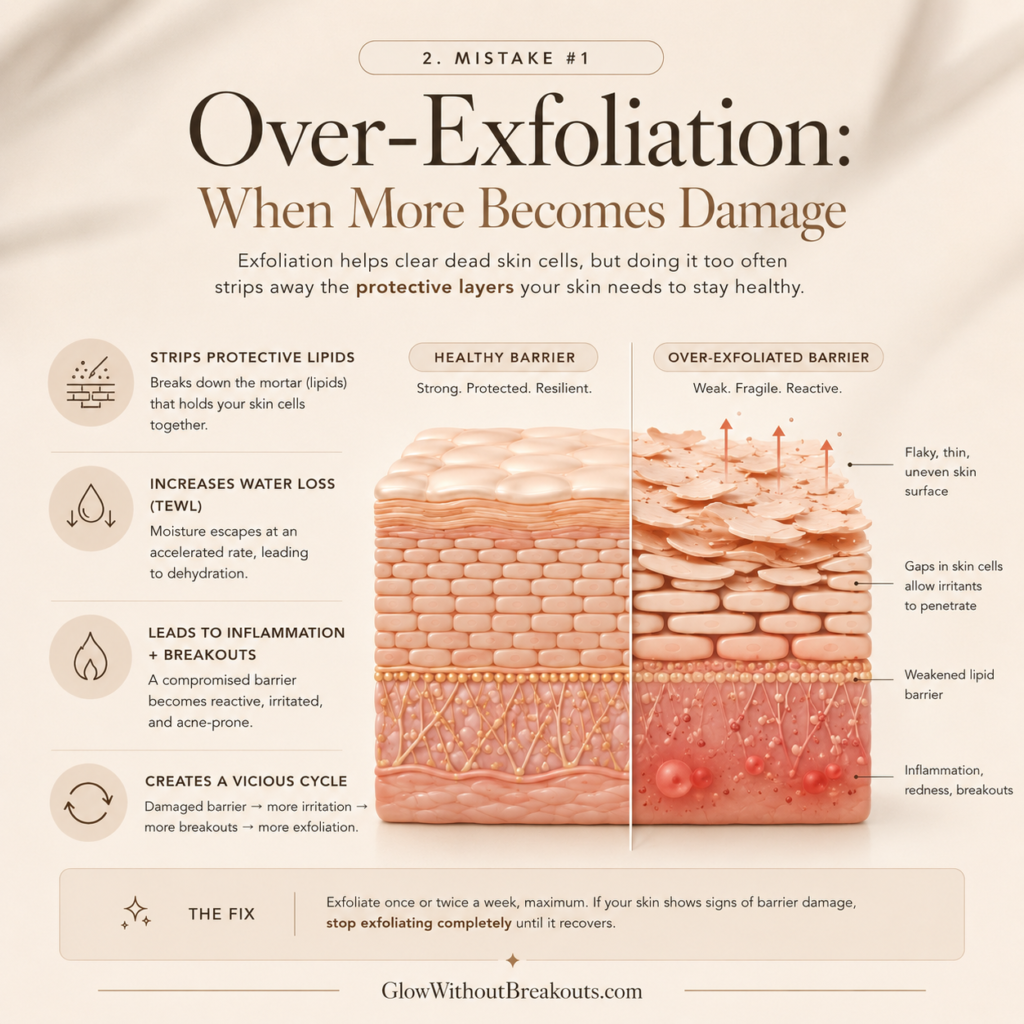
Over-Exfoliation Recovery: How to Know When You’ve Gone Too Far
Salicylic Acid vs Benzoyl Peroxide: The Final Verdict
The salicylic acid vs benzoyl peroxide debate does not have a single winner because they are not competing for the same job. Salicylic acid prevents and clears congestion. Benzoyl peroxide kills bacteria and treats active inflamed breakouts. If you only have one in your routine right now, choose based on your primary acne type: blackheads and clogged pores point to salicylic acid, inflamed painful pimples point to benzoyl peroxide. If you have both types of acne, use both strategically by separating them into different nights or different steps.
The most important thing I learned from years of using salicylic acid vs benzoyl peroxide on my own skin is that more is never better with either of these ingredients. Start with one at a time, introduce slowly, always follow with a good moisturizer, and give your skin time to adjust before adding anything new. A damaged barrier will not respond to either ingredient no matter how well you apply them.
Related reading
The Worst Skincare Mistake I Made: And How to Repair Your Barrier
More From GlowWithoutBreakouts
GWB Skin Quiz
Still not sure whether salicylic acid vs benzoyl peroxide is right for your skin?
Take the free quiz and get matched to the right routine for your skin type.
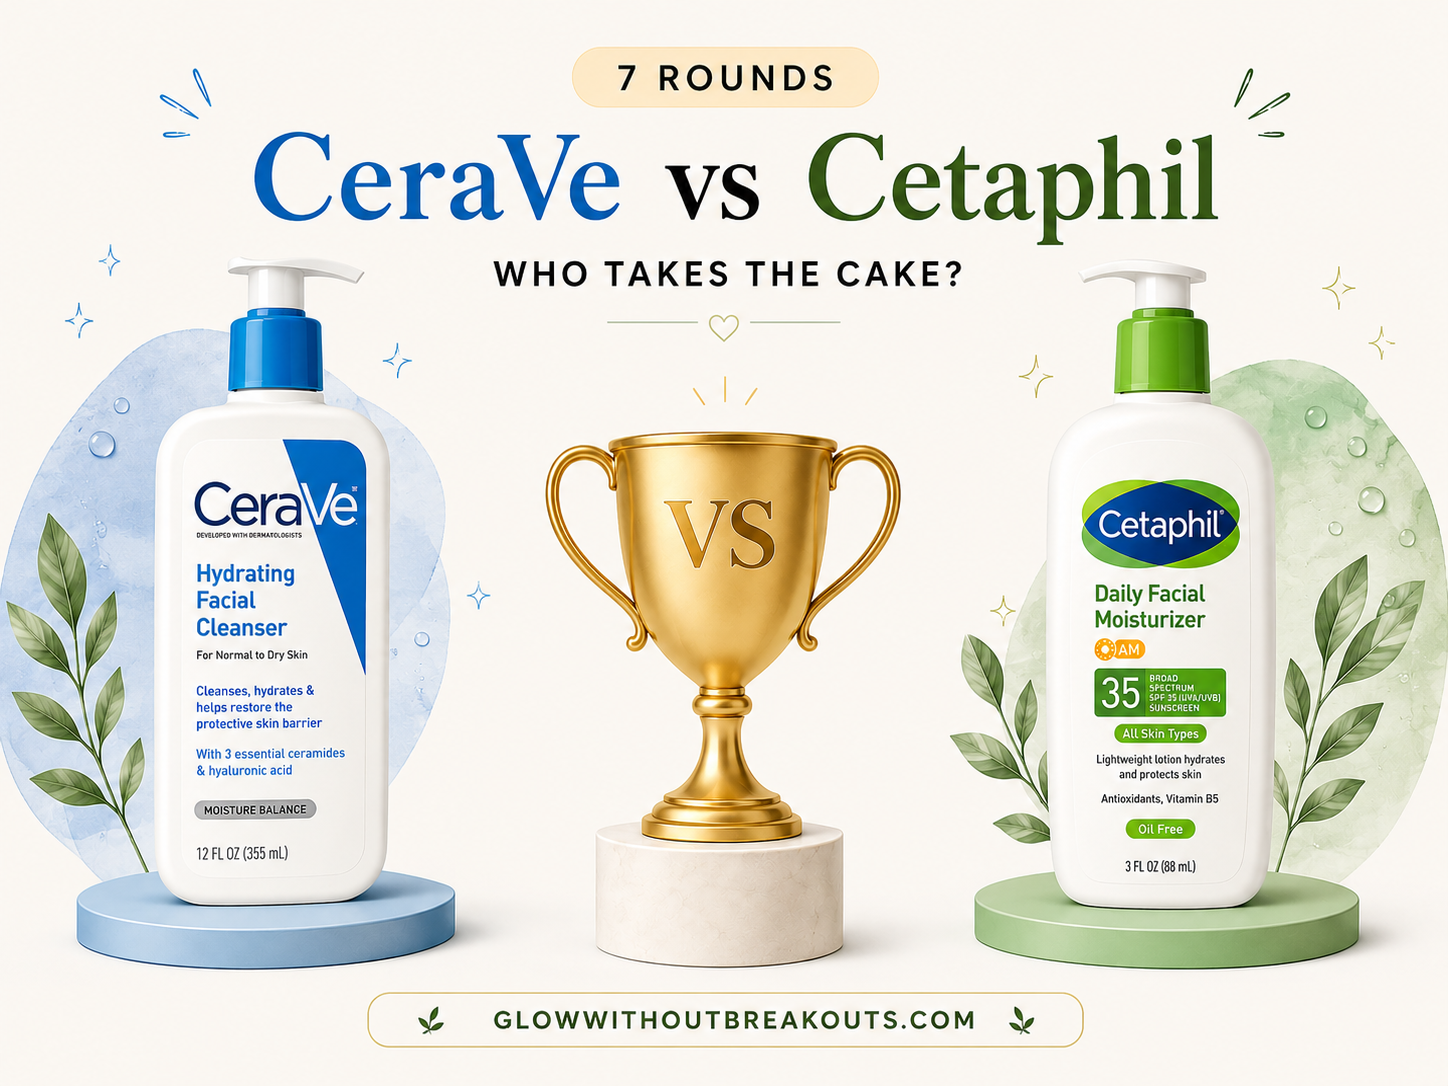
→ 7 Brutal Rounds: CeraVe vs Cetaphil — Advice From the Lab Rat
→ Stop Guessing: 3 Routines Based on Your Acne Skin Type
→ Best Cleansers for Acne-Prone Skin: Tested & Ranked
→ Best Sunscreen for Acne-Prone Skin
→ 5 Critical Mistakes That Shattered Your Skin Barrier
→ Over-Exfoliation Recovery: How to Fix Damaged Skin
→ 7+ Powerful Habits That Actually Prevent Breakouts
→ Best Ways to Make a Pimple Go Away Fast
→ Does Stress Really Cause Acne?
→ Best Pillowcase for Acne-Prone Skin
→ The Worst Skincare Mistake I Made
Disclaimer: This post contains affiliate links. If you purchase through these links, I may earn a small commission at no extra cost to you. All opinions are 100% my own and based on personal experience and honest research. This is not medical advice, please consult a dermatologist for persistent acne concerns.